Single Node Deployment
Let's get started and deploy a single ROCK sensor. This is the most straight forward (and most common) way to deploy.
The TUI is an interactive user experience that improves the configuration process,
rather than manually editing a .yml file. But to be clear, the end goal of all
the selections made in the TUI will be writing out to /etc/rocknsm/config.yml.
Requirements
The following steps assume that you have done a fresh installation of ROCK using the latest ISO.
Deploy using the TUI
Let's walk through this menu line by line, starting with the first line that's
already highlighted and ready to hit
$sudo rock setup
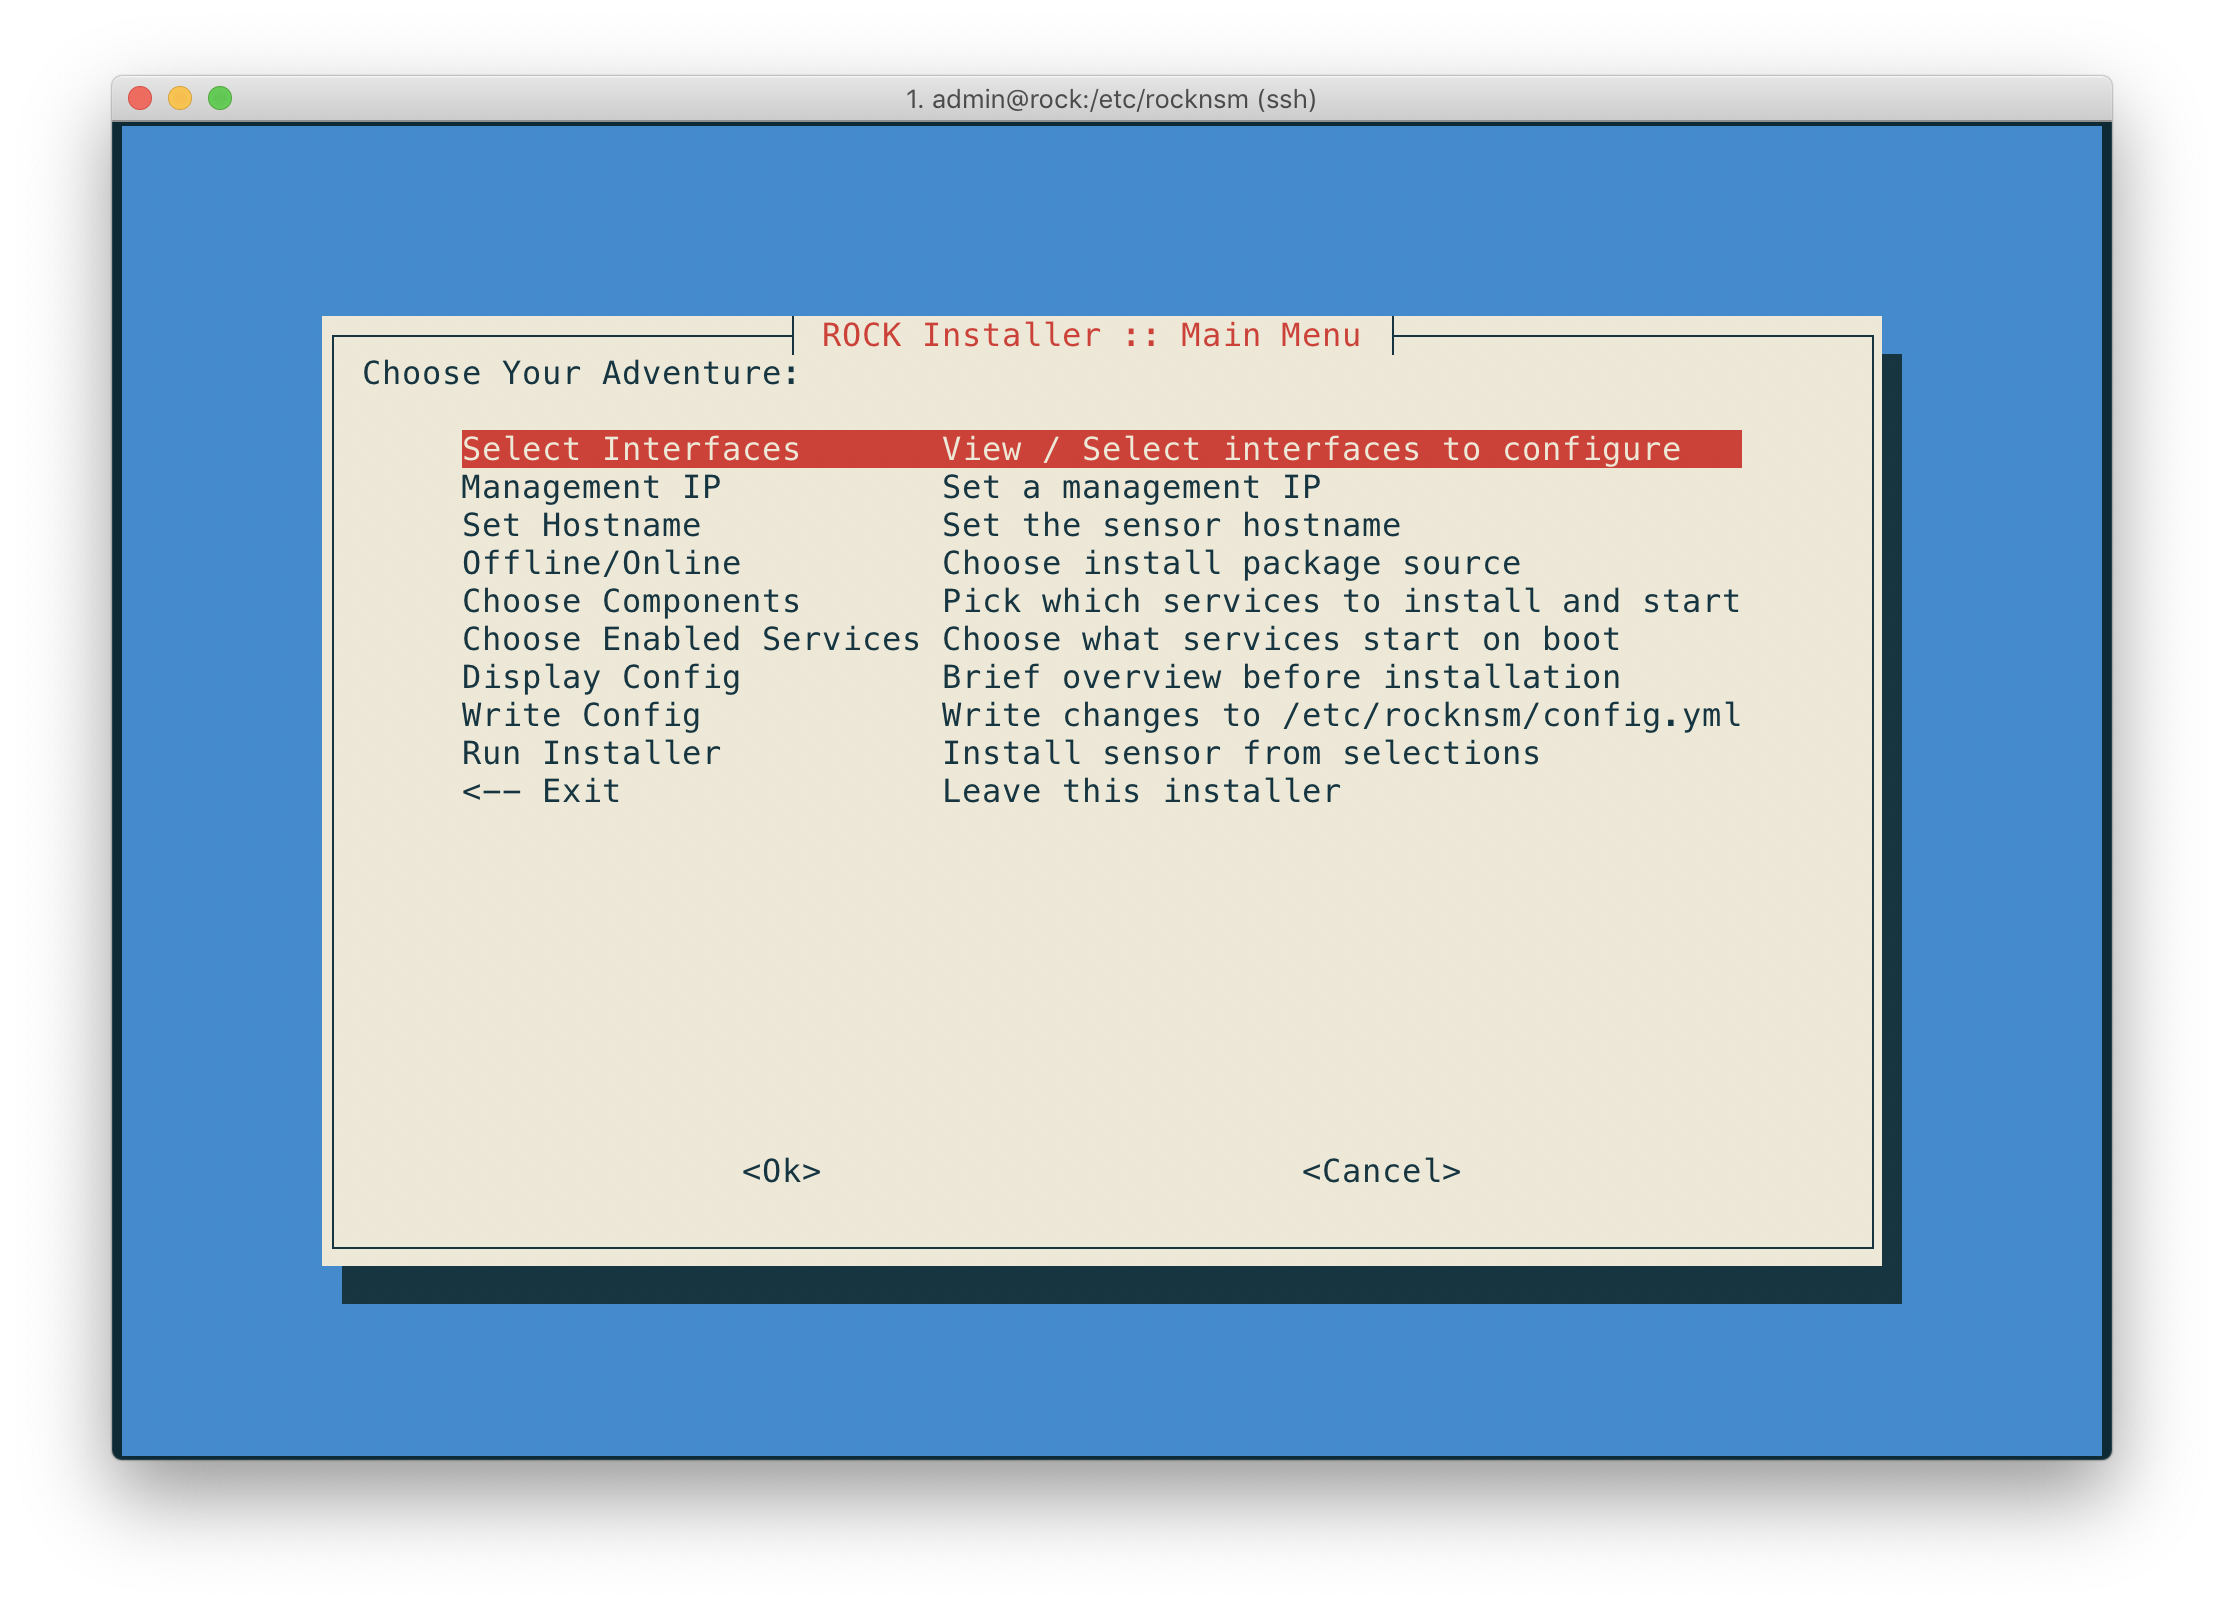
Select Interfaces
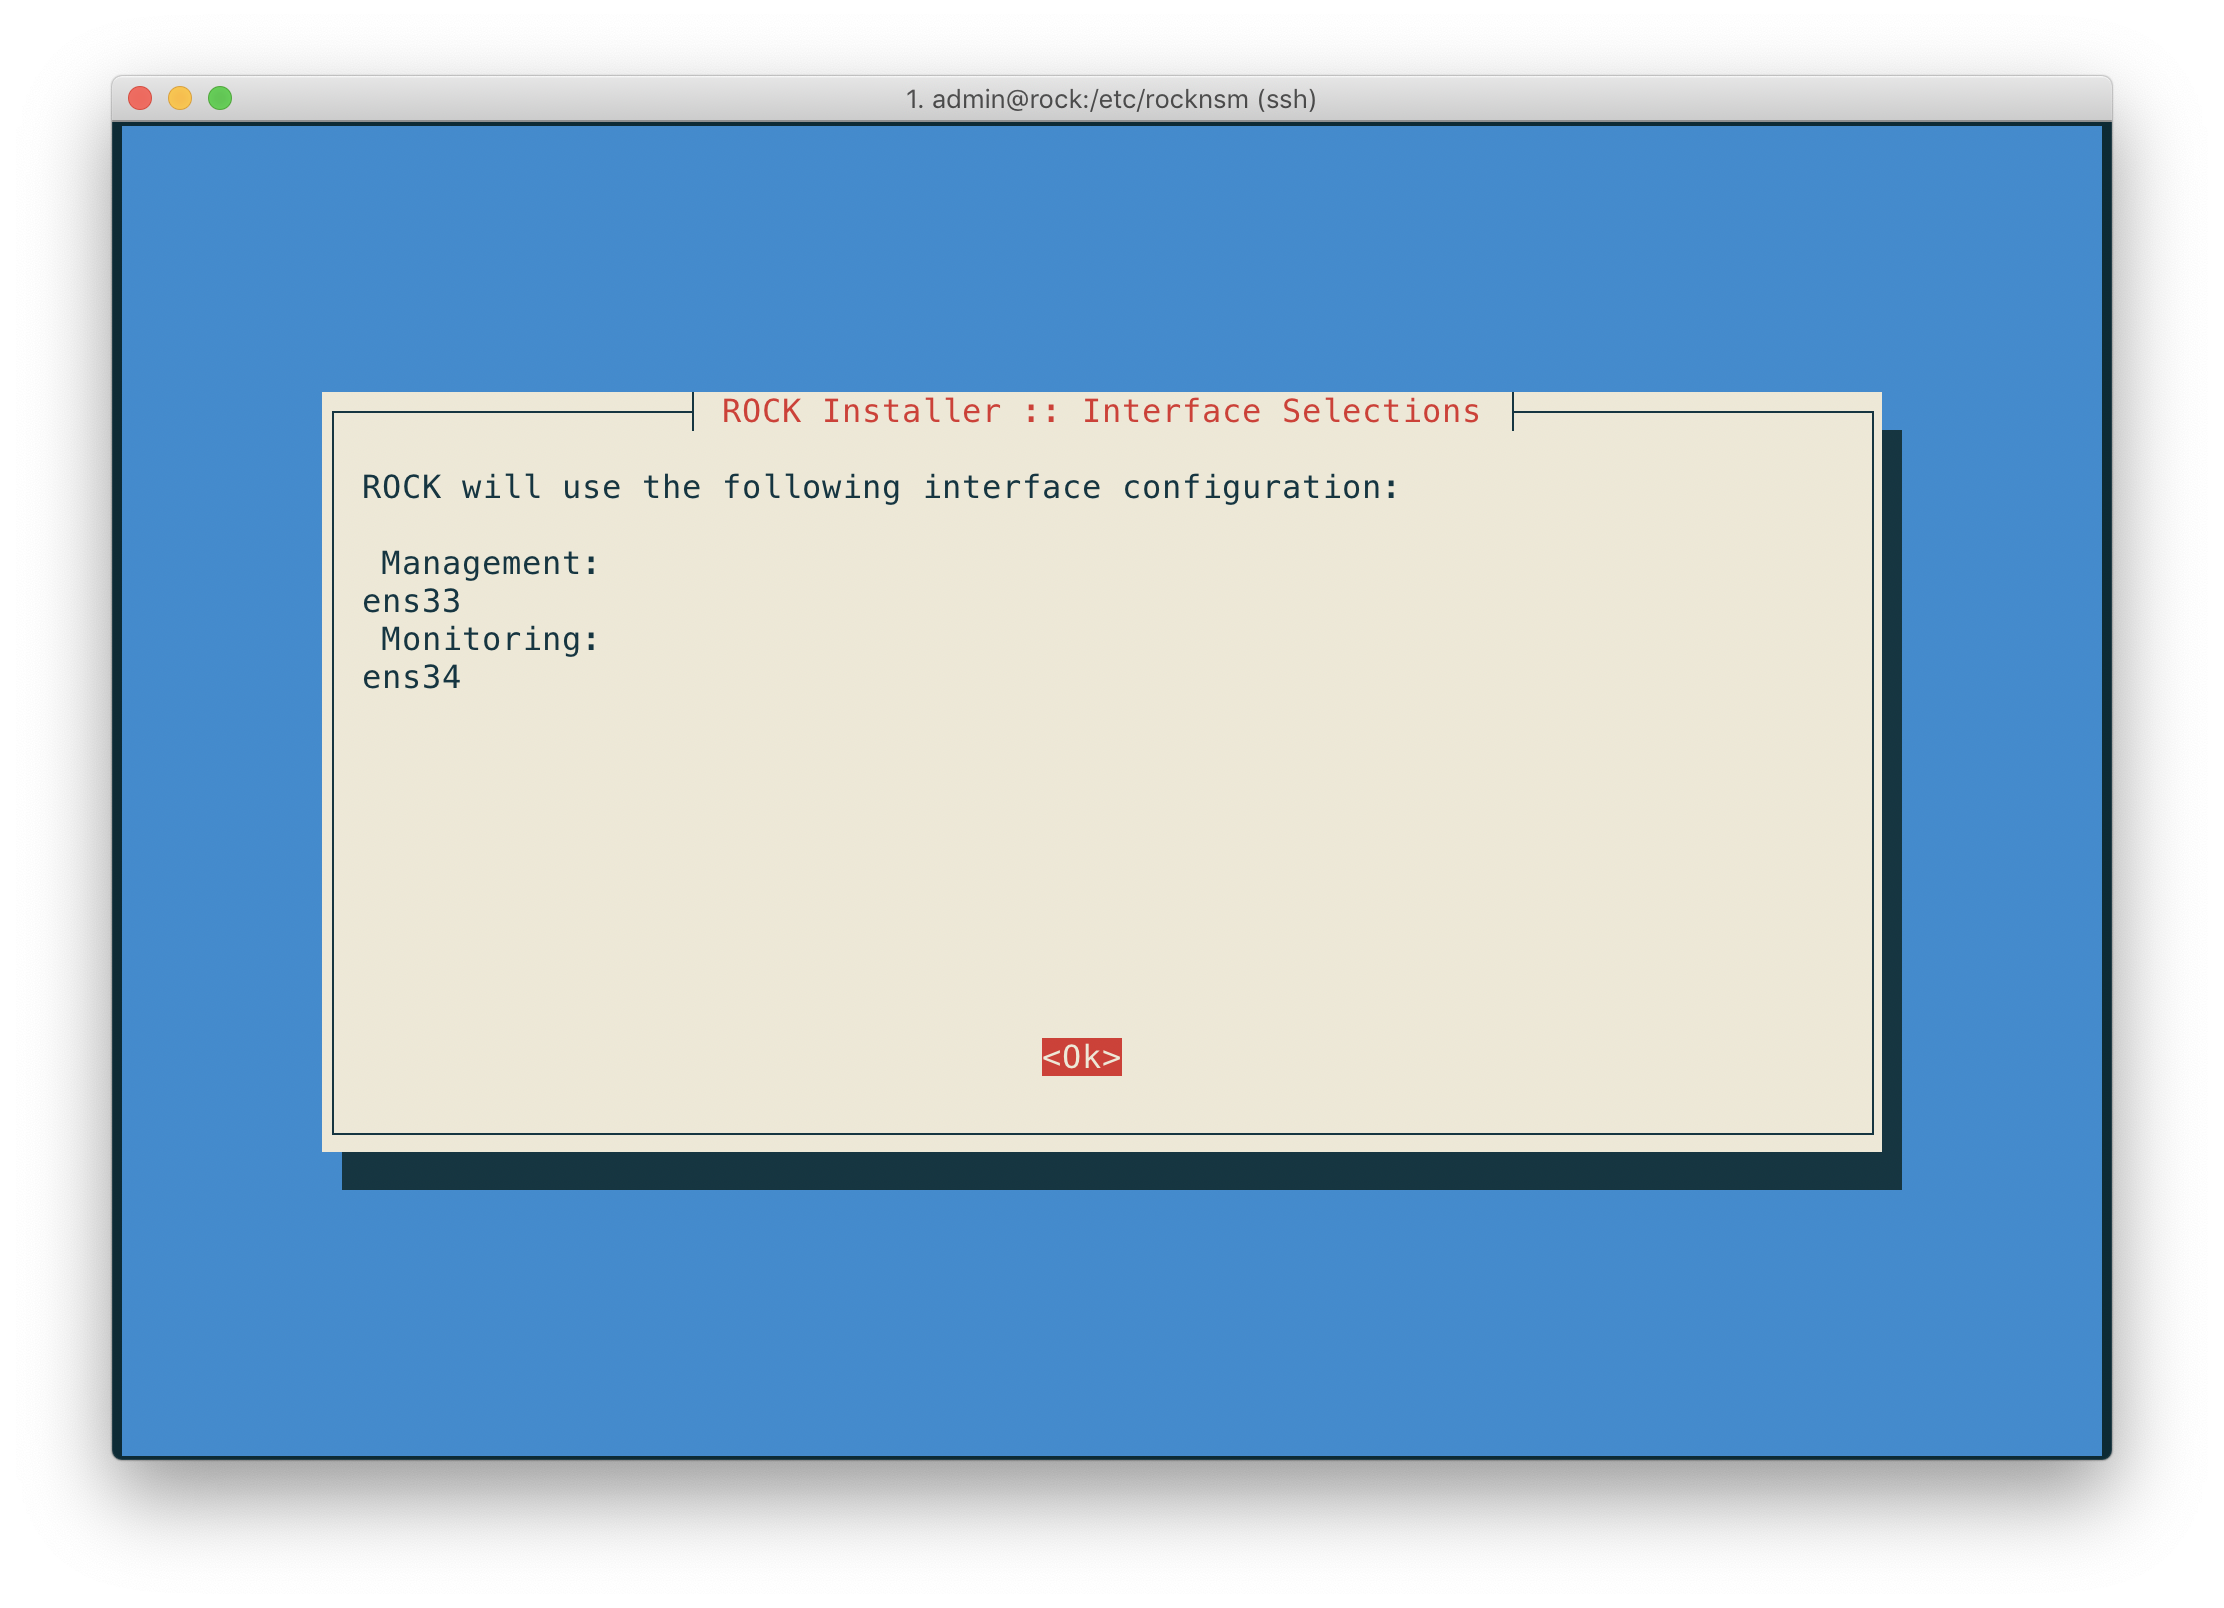
This is where we define what interfaces are used for what purposes. In this example there are 2 interfaces to work with:
ens33- currently connected, will use for remote managementens34- not currently connected, intended for monitor interface
Choose the interfaces you want to for your usecase, and the settings will be reviewed before exiting:
Management IP
Let's choose how the management IP address is defined. We can let DHCP decide, or set a static address:
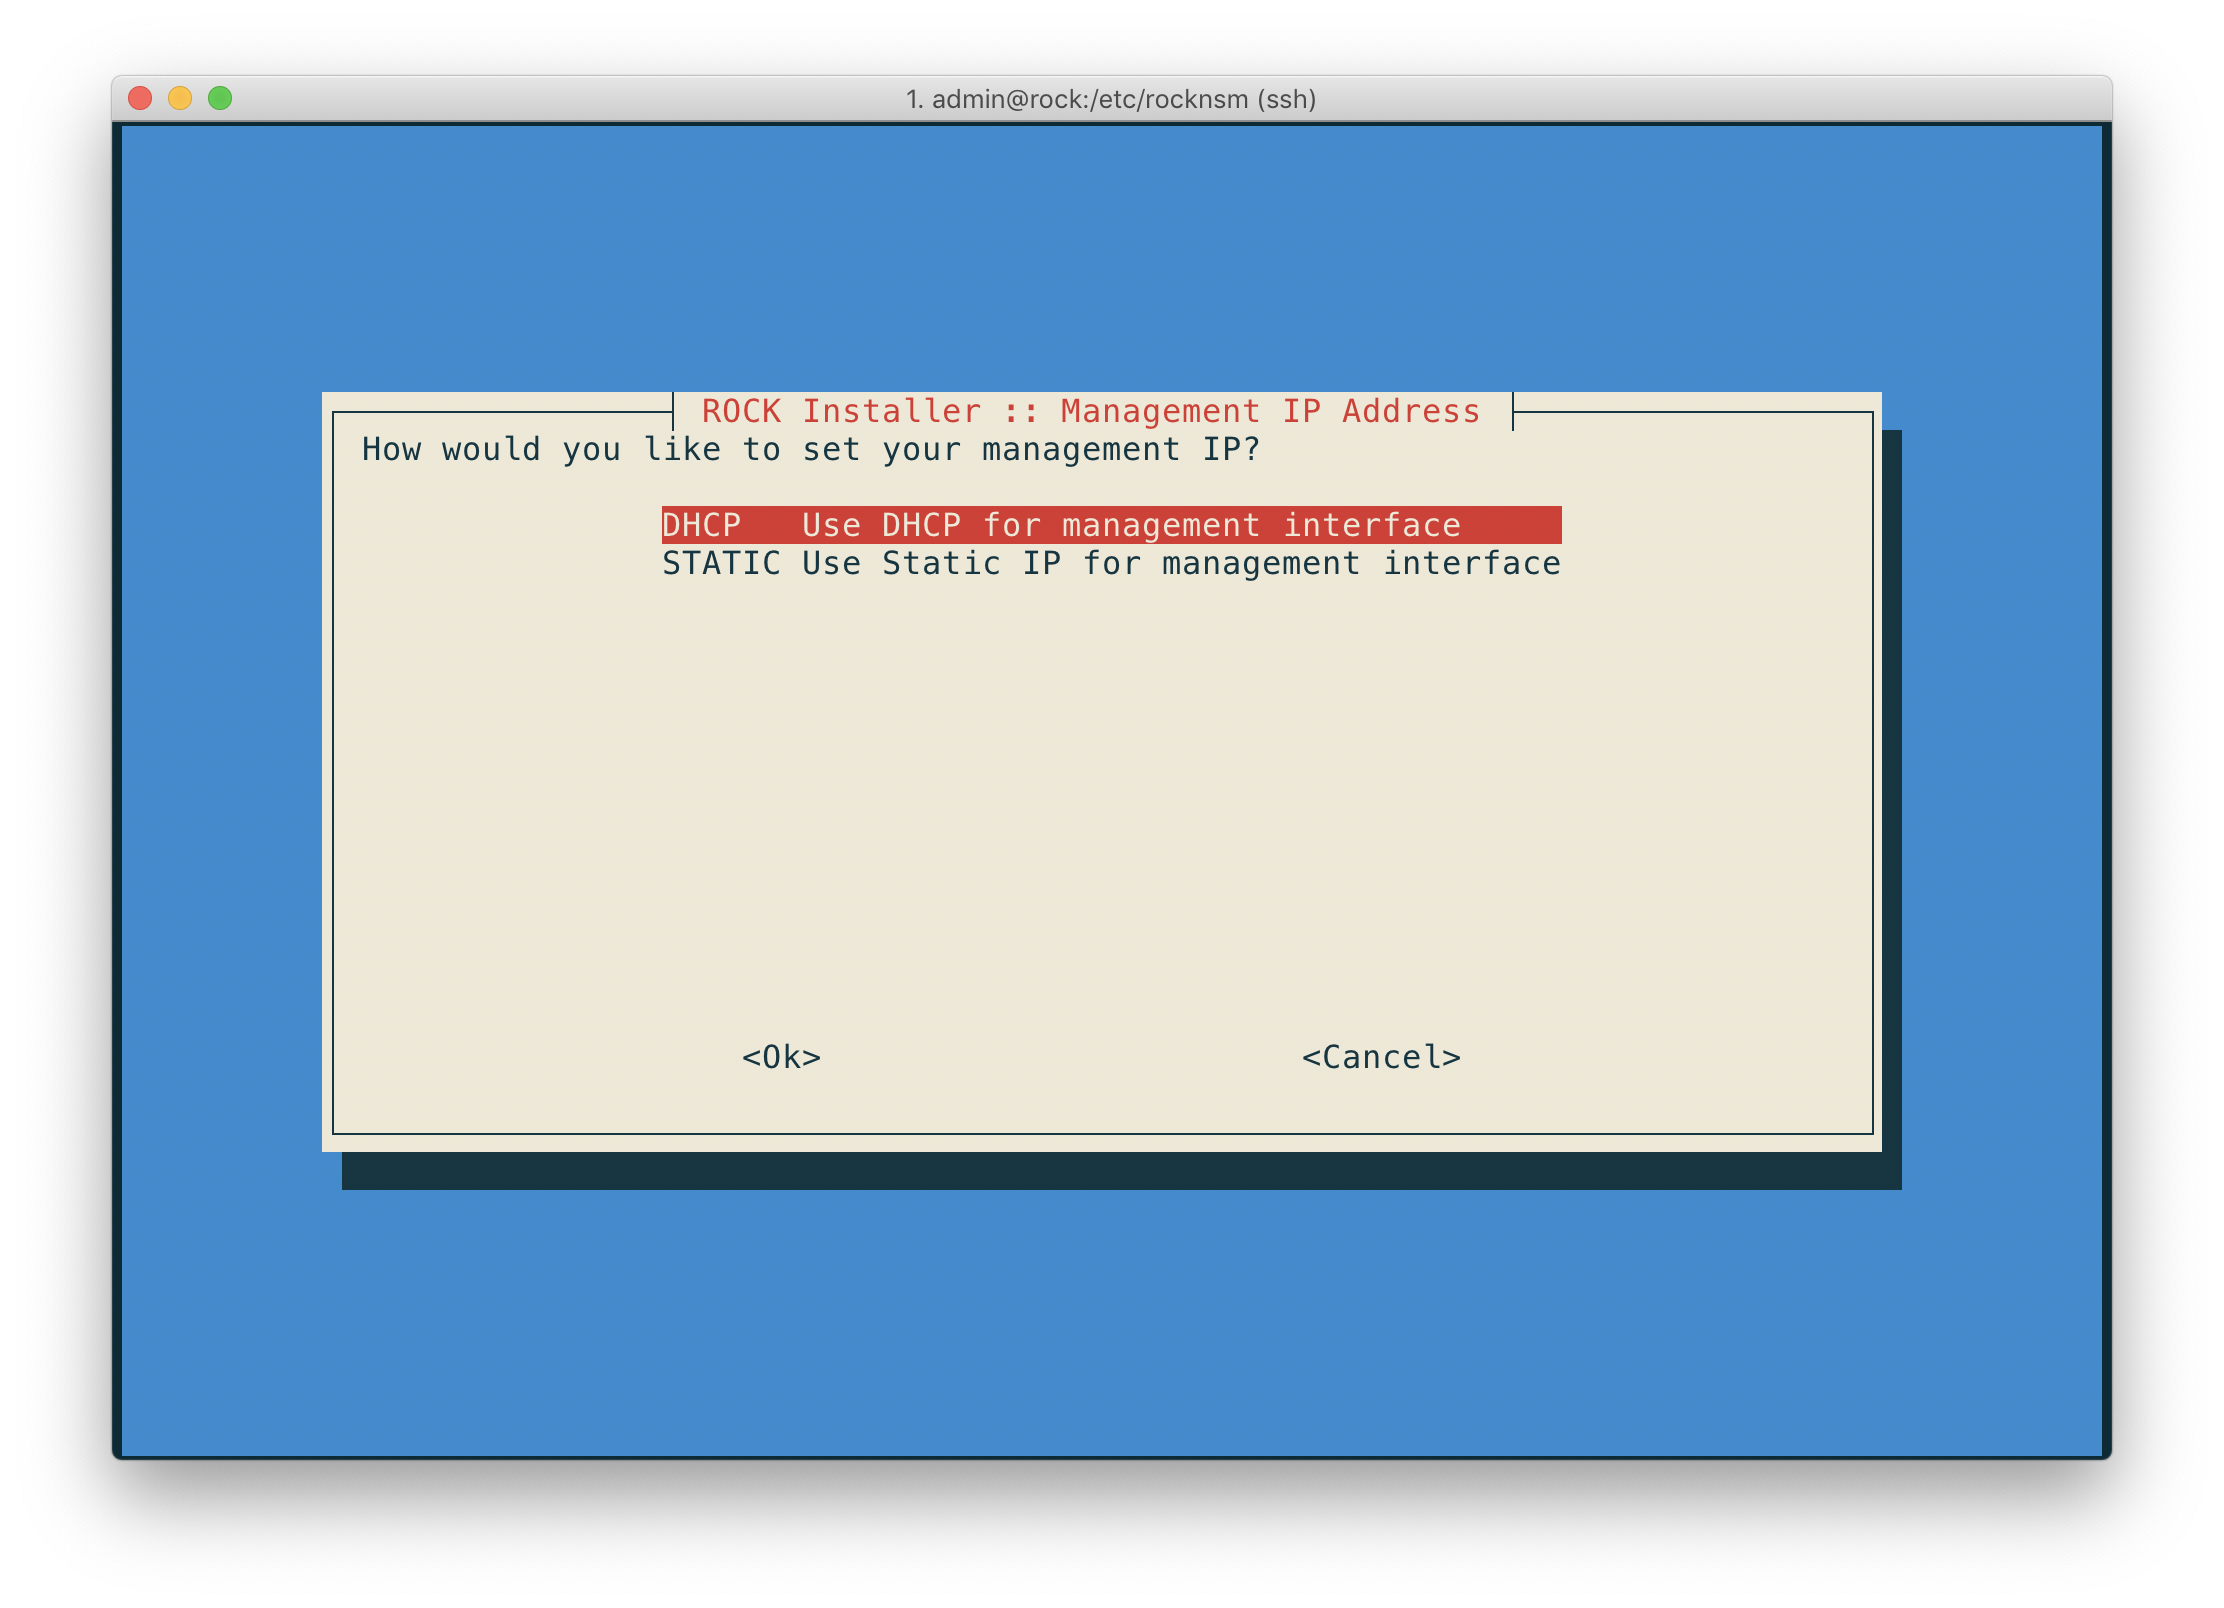
For this example we'll use DHCP.
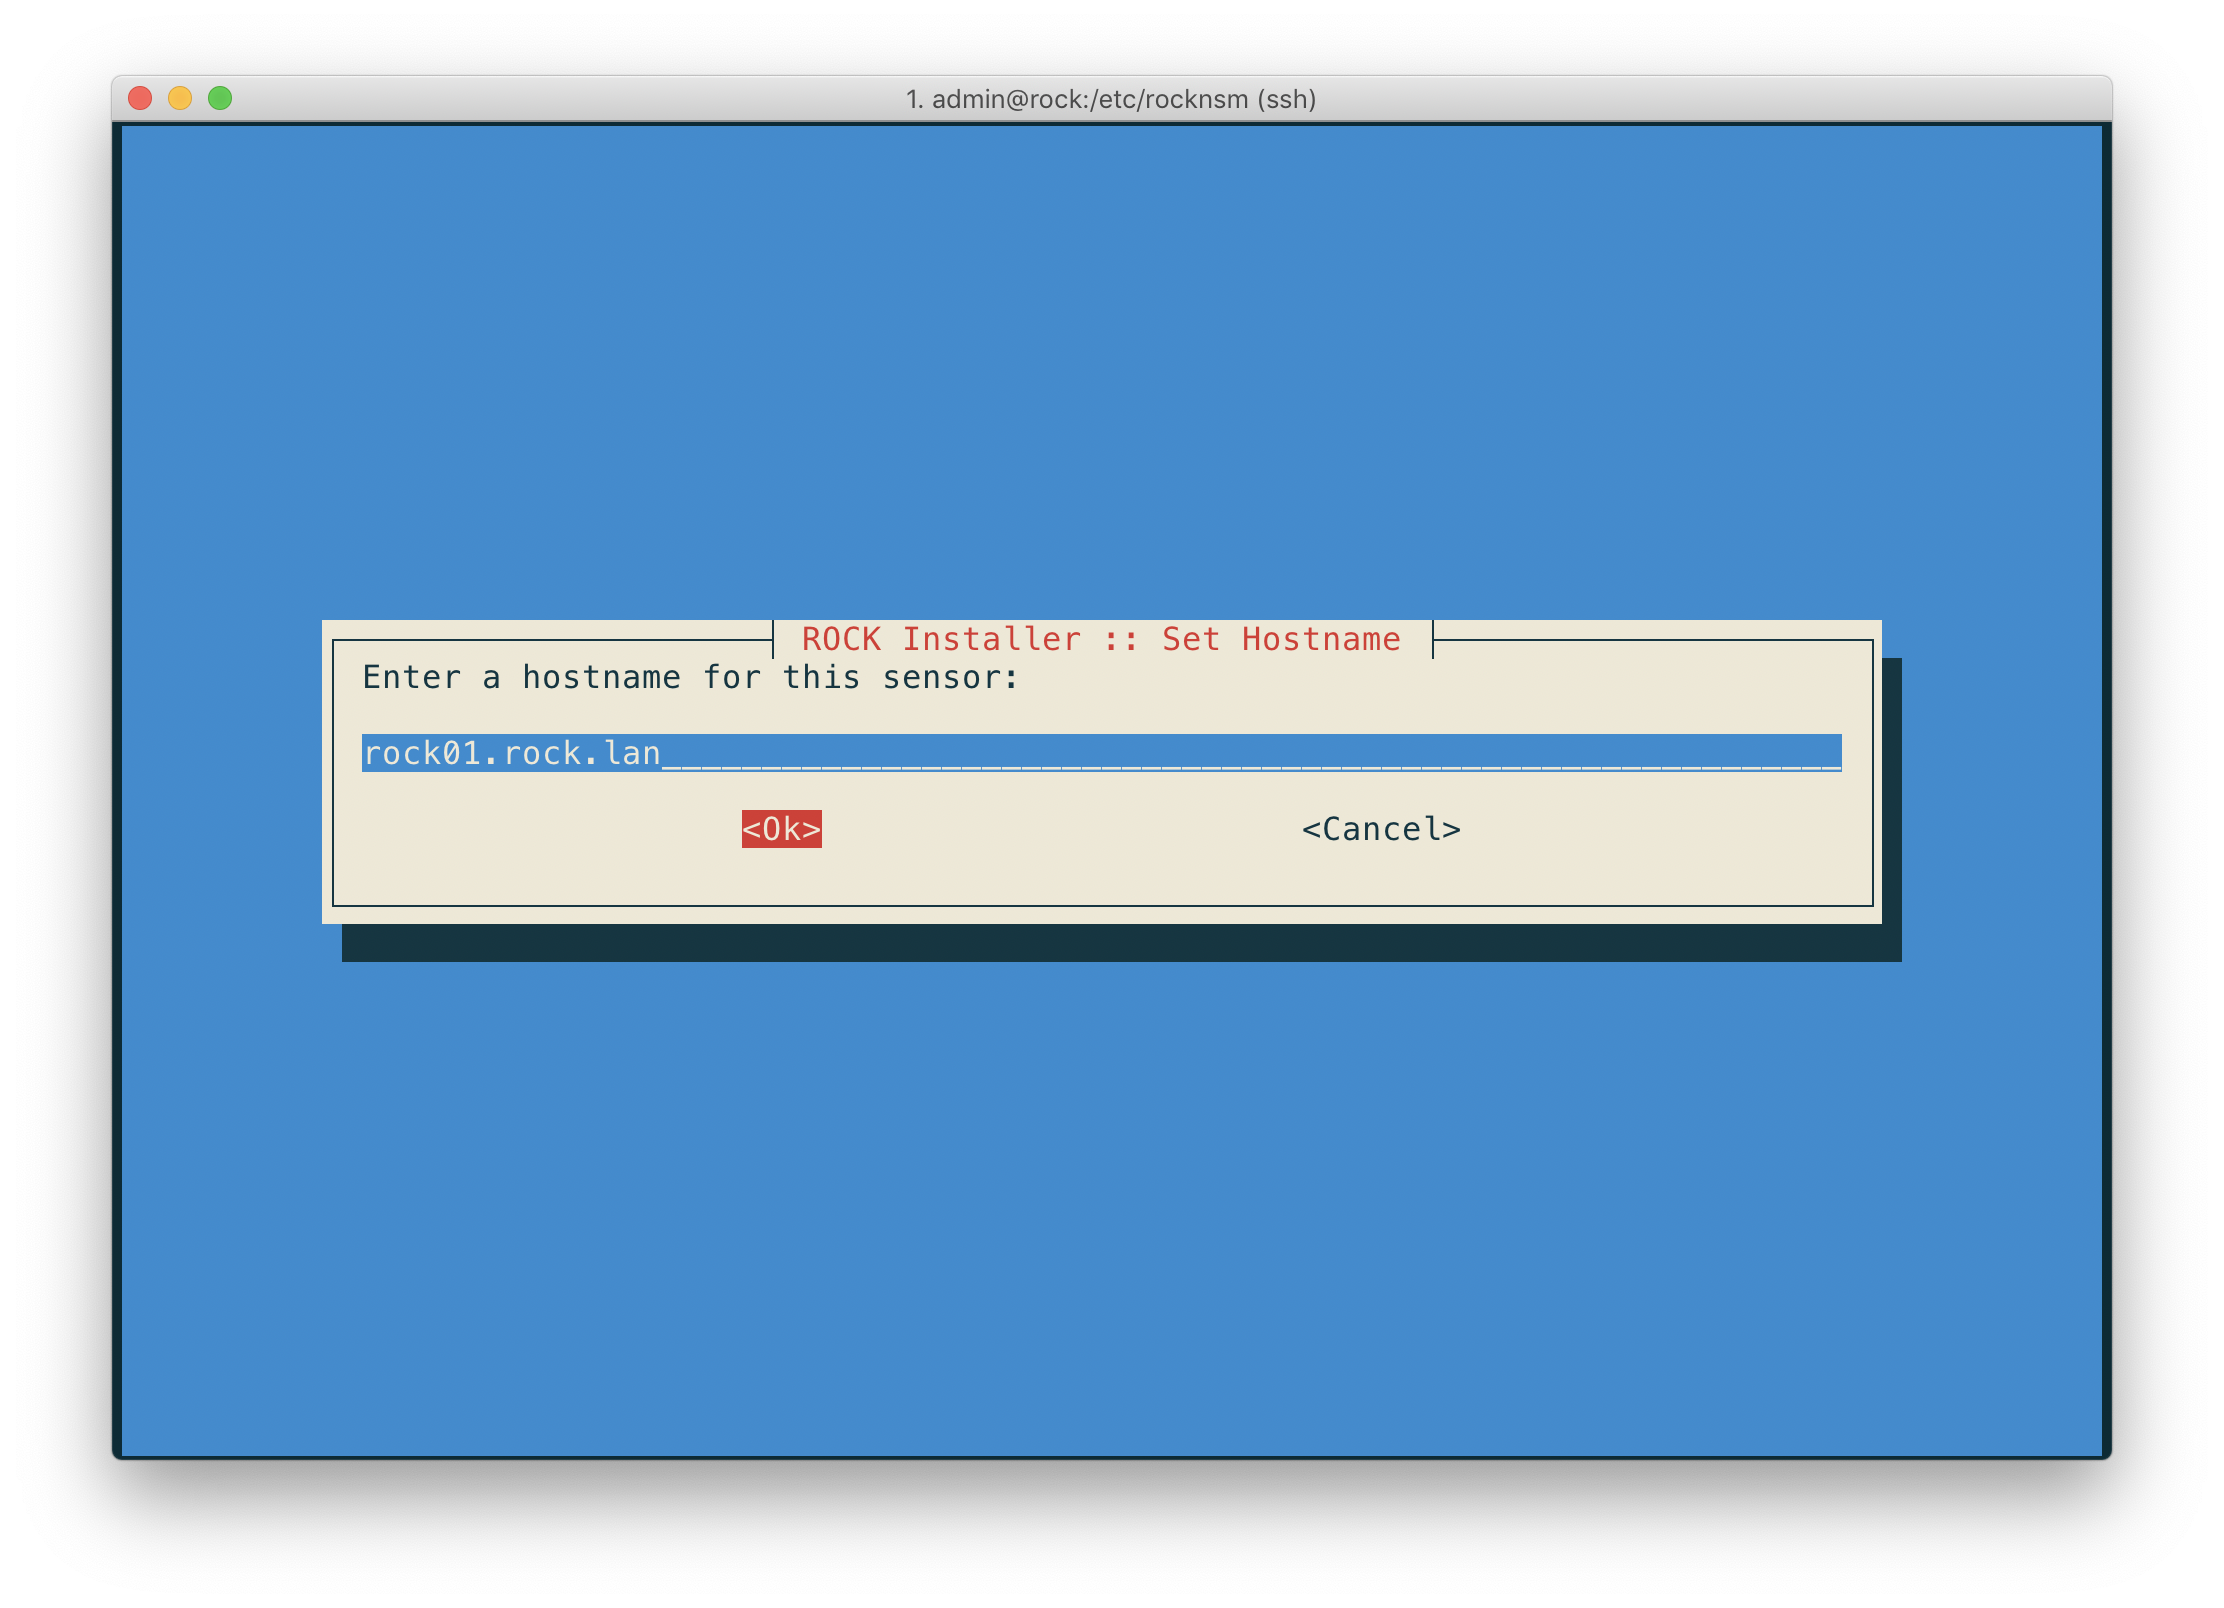
Set Hostname
The next set allows you to set the local hostname. For this example we'll call
this box rock01.rock.lan.
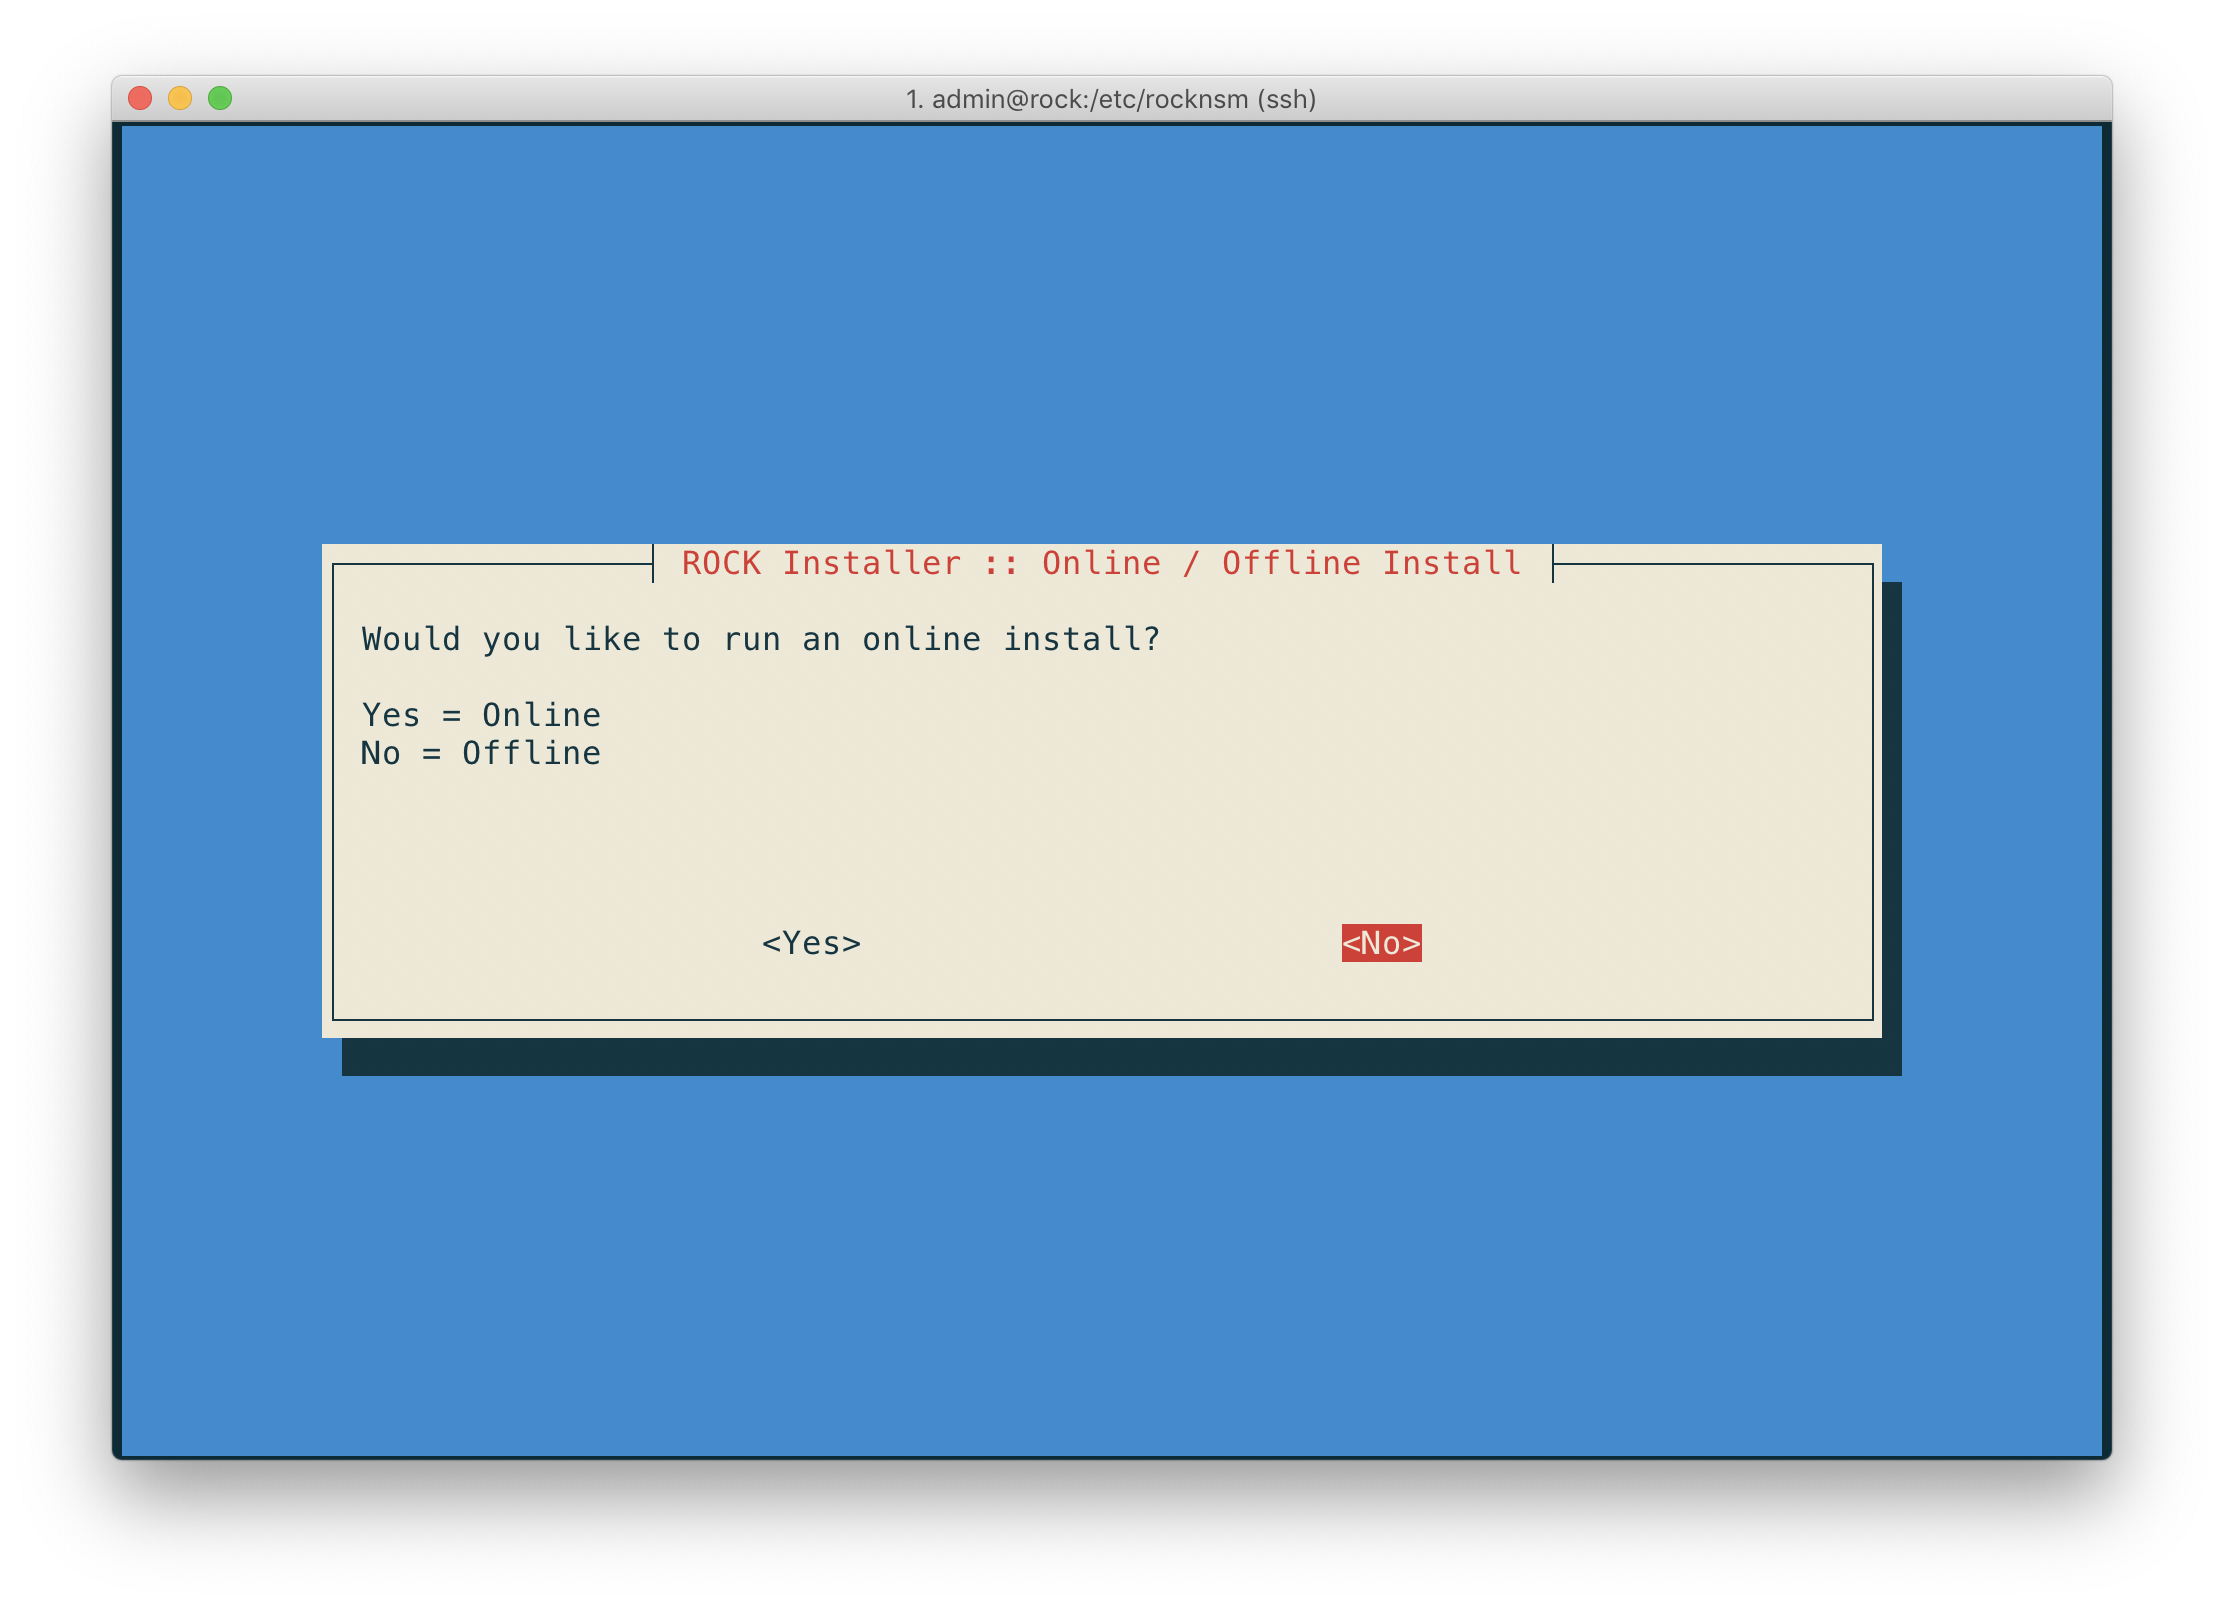
Offline/Online
There are 2 options when selecting the source of installation packages:
Yes = Online- connects to upstream repositories for packagesNo = Offline- uses local packages ( located in/srv)
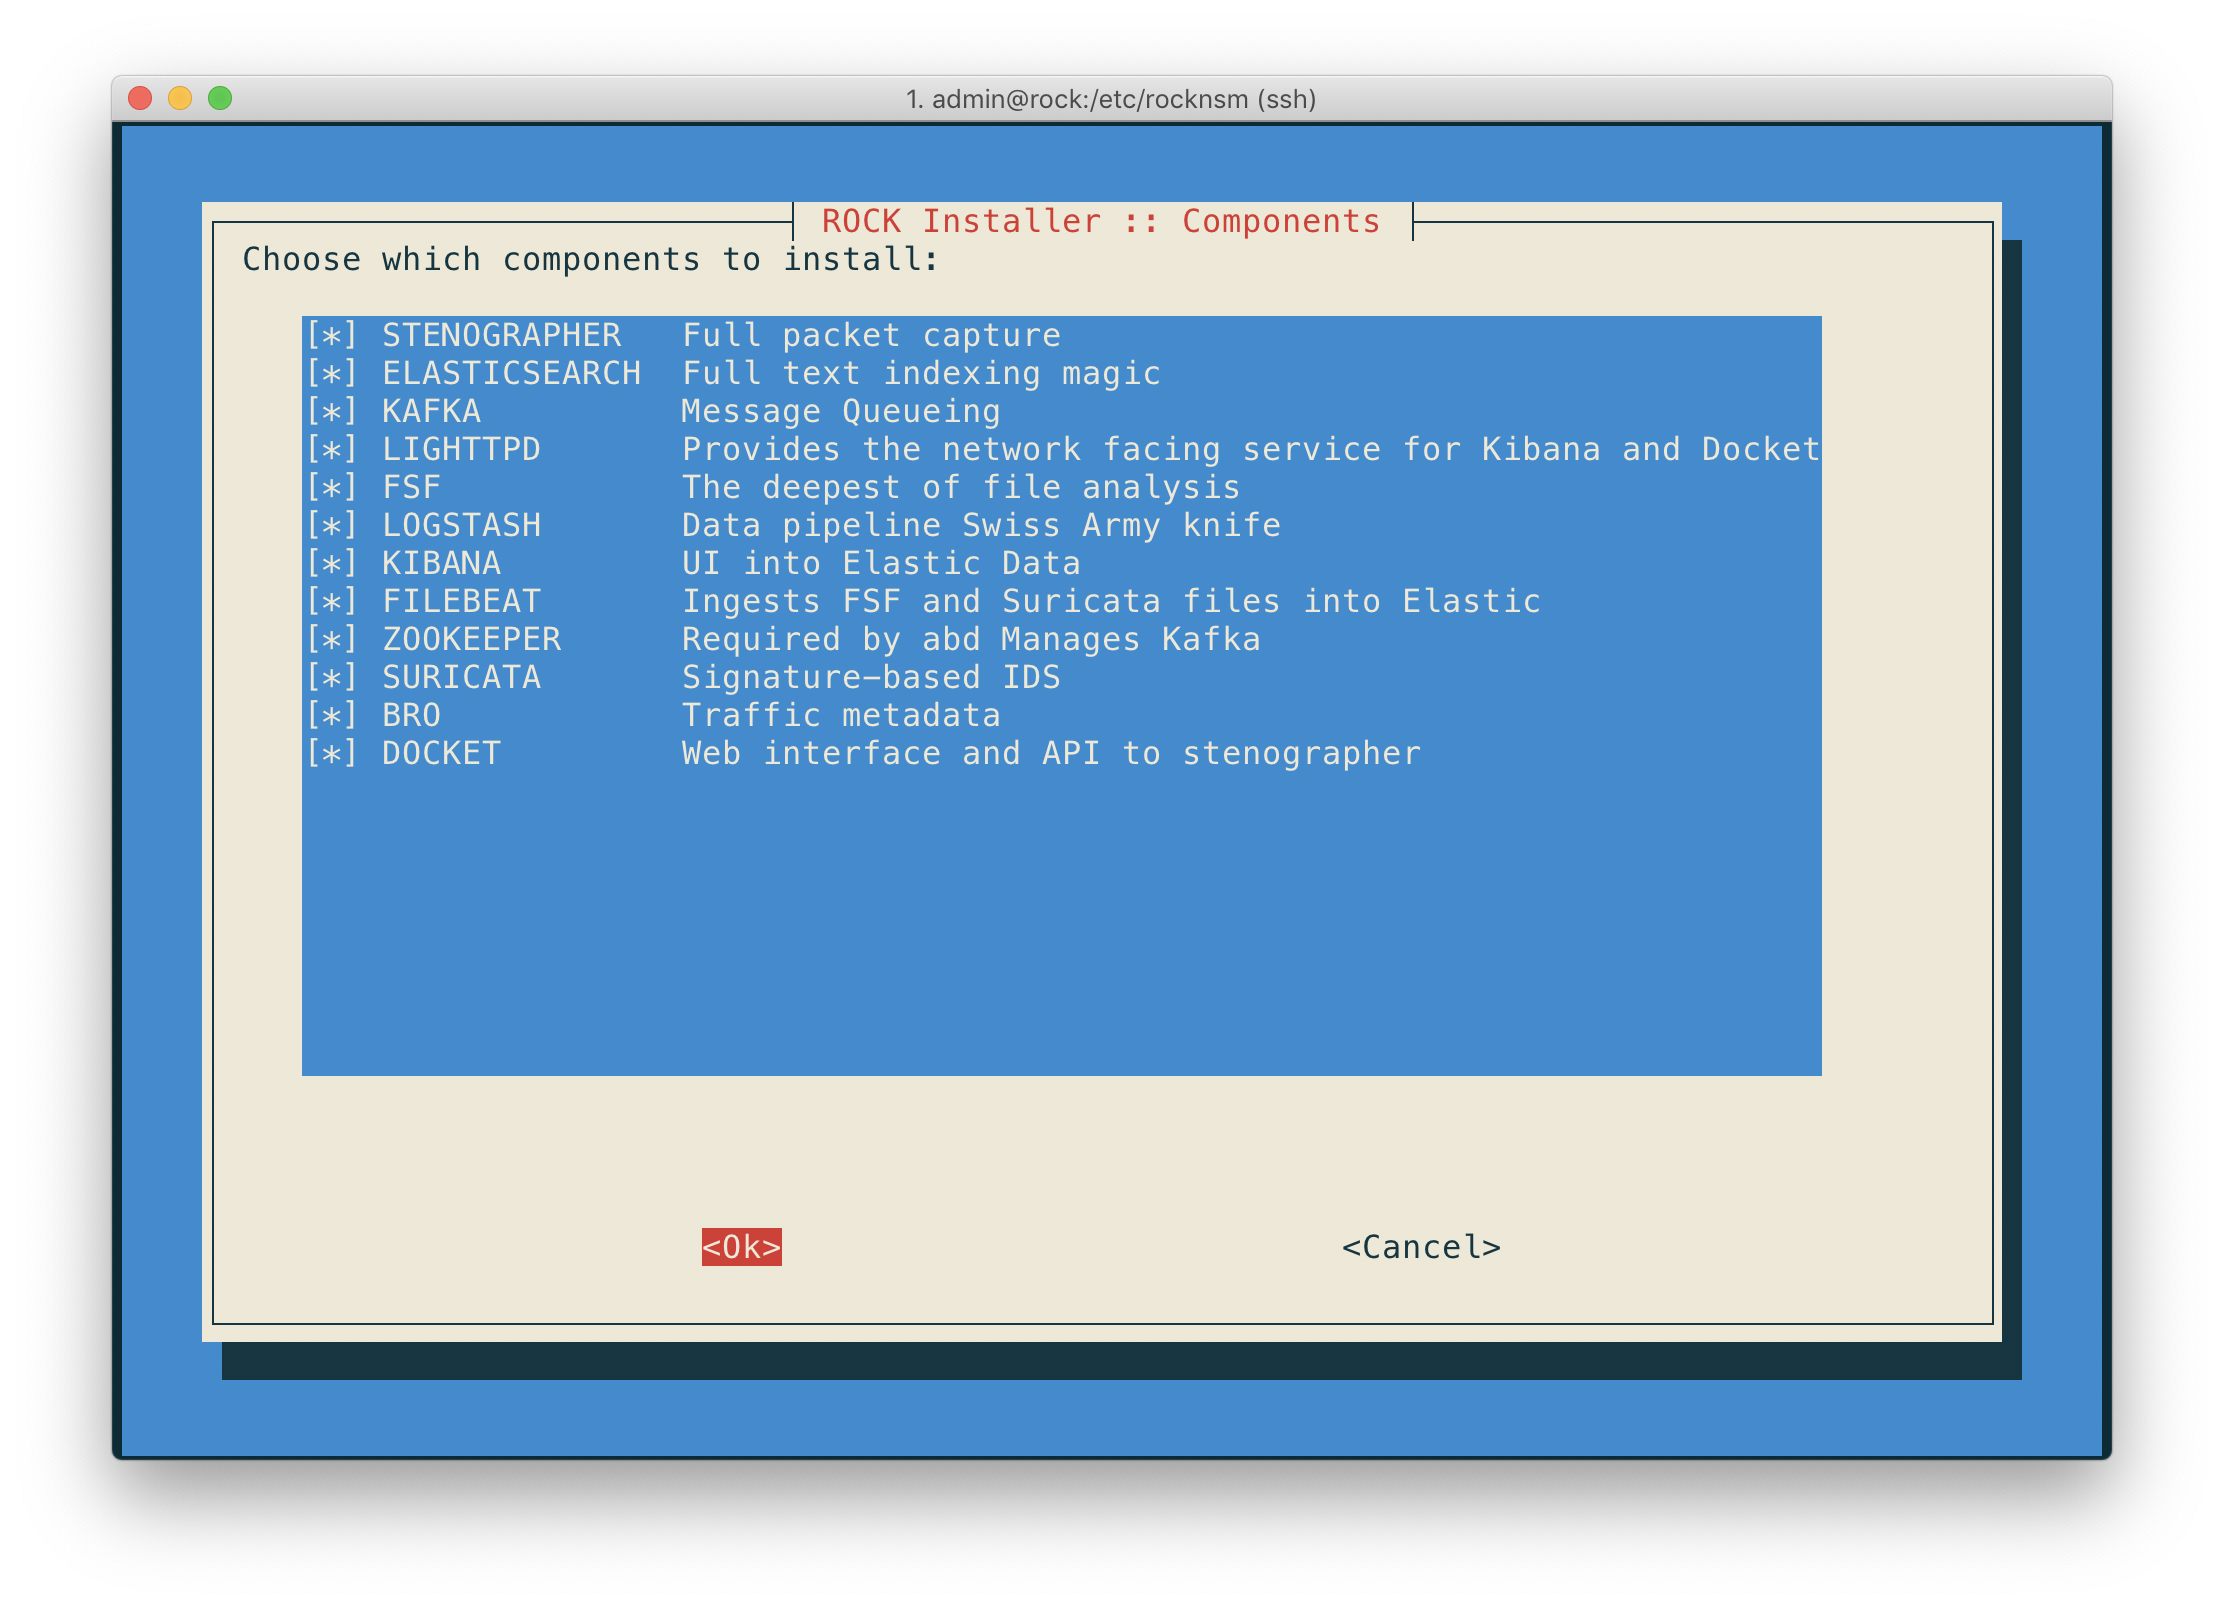
Choose Components
Next up is selecting what components are installed during the deploy. These choices are given to provide flexibility in choosing only the services you want (or have the capability) to run.
In the screen below you can see we've selected all the things.
Choose Enabled Services
After selecting what components are installed, we get a similar interface for selecting which of those services are enabled (configured to start automatically on initial boot).

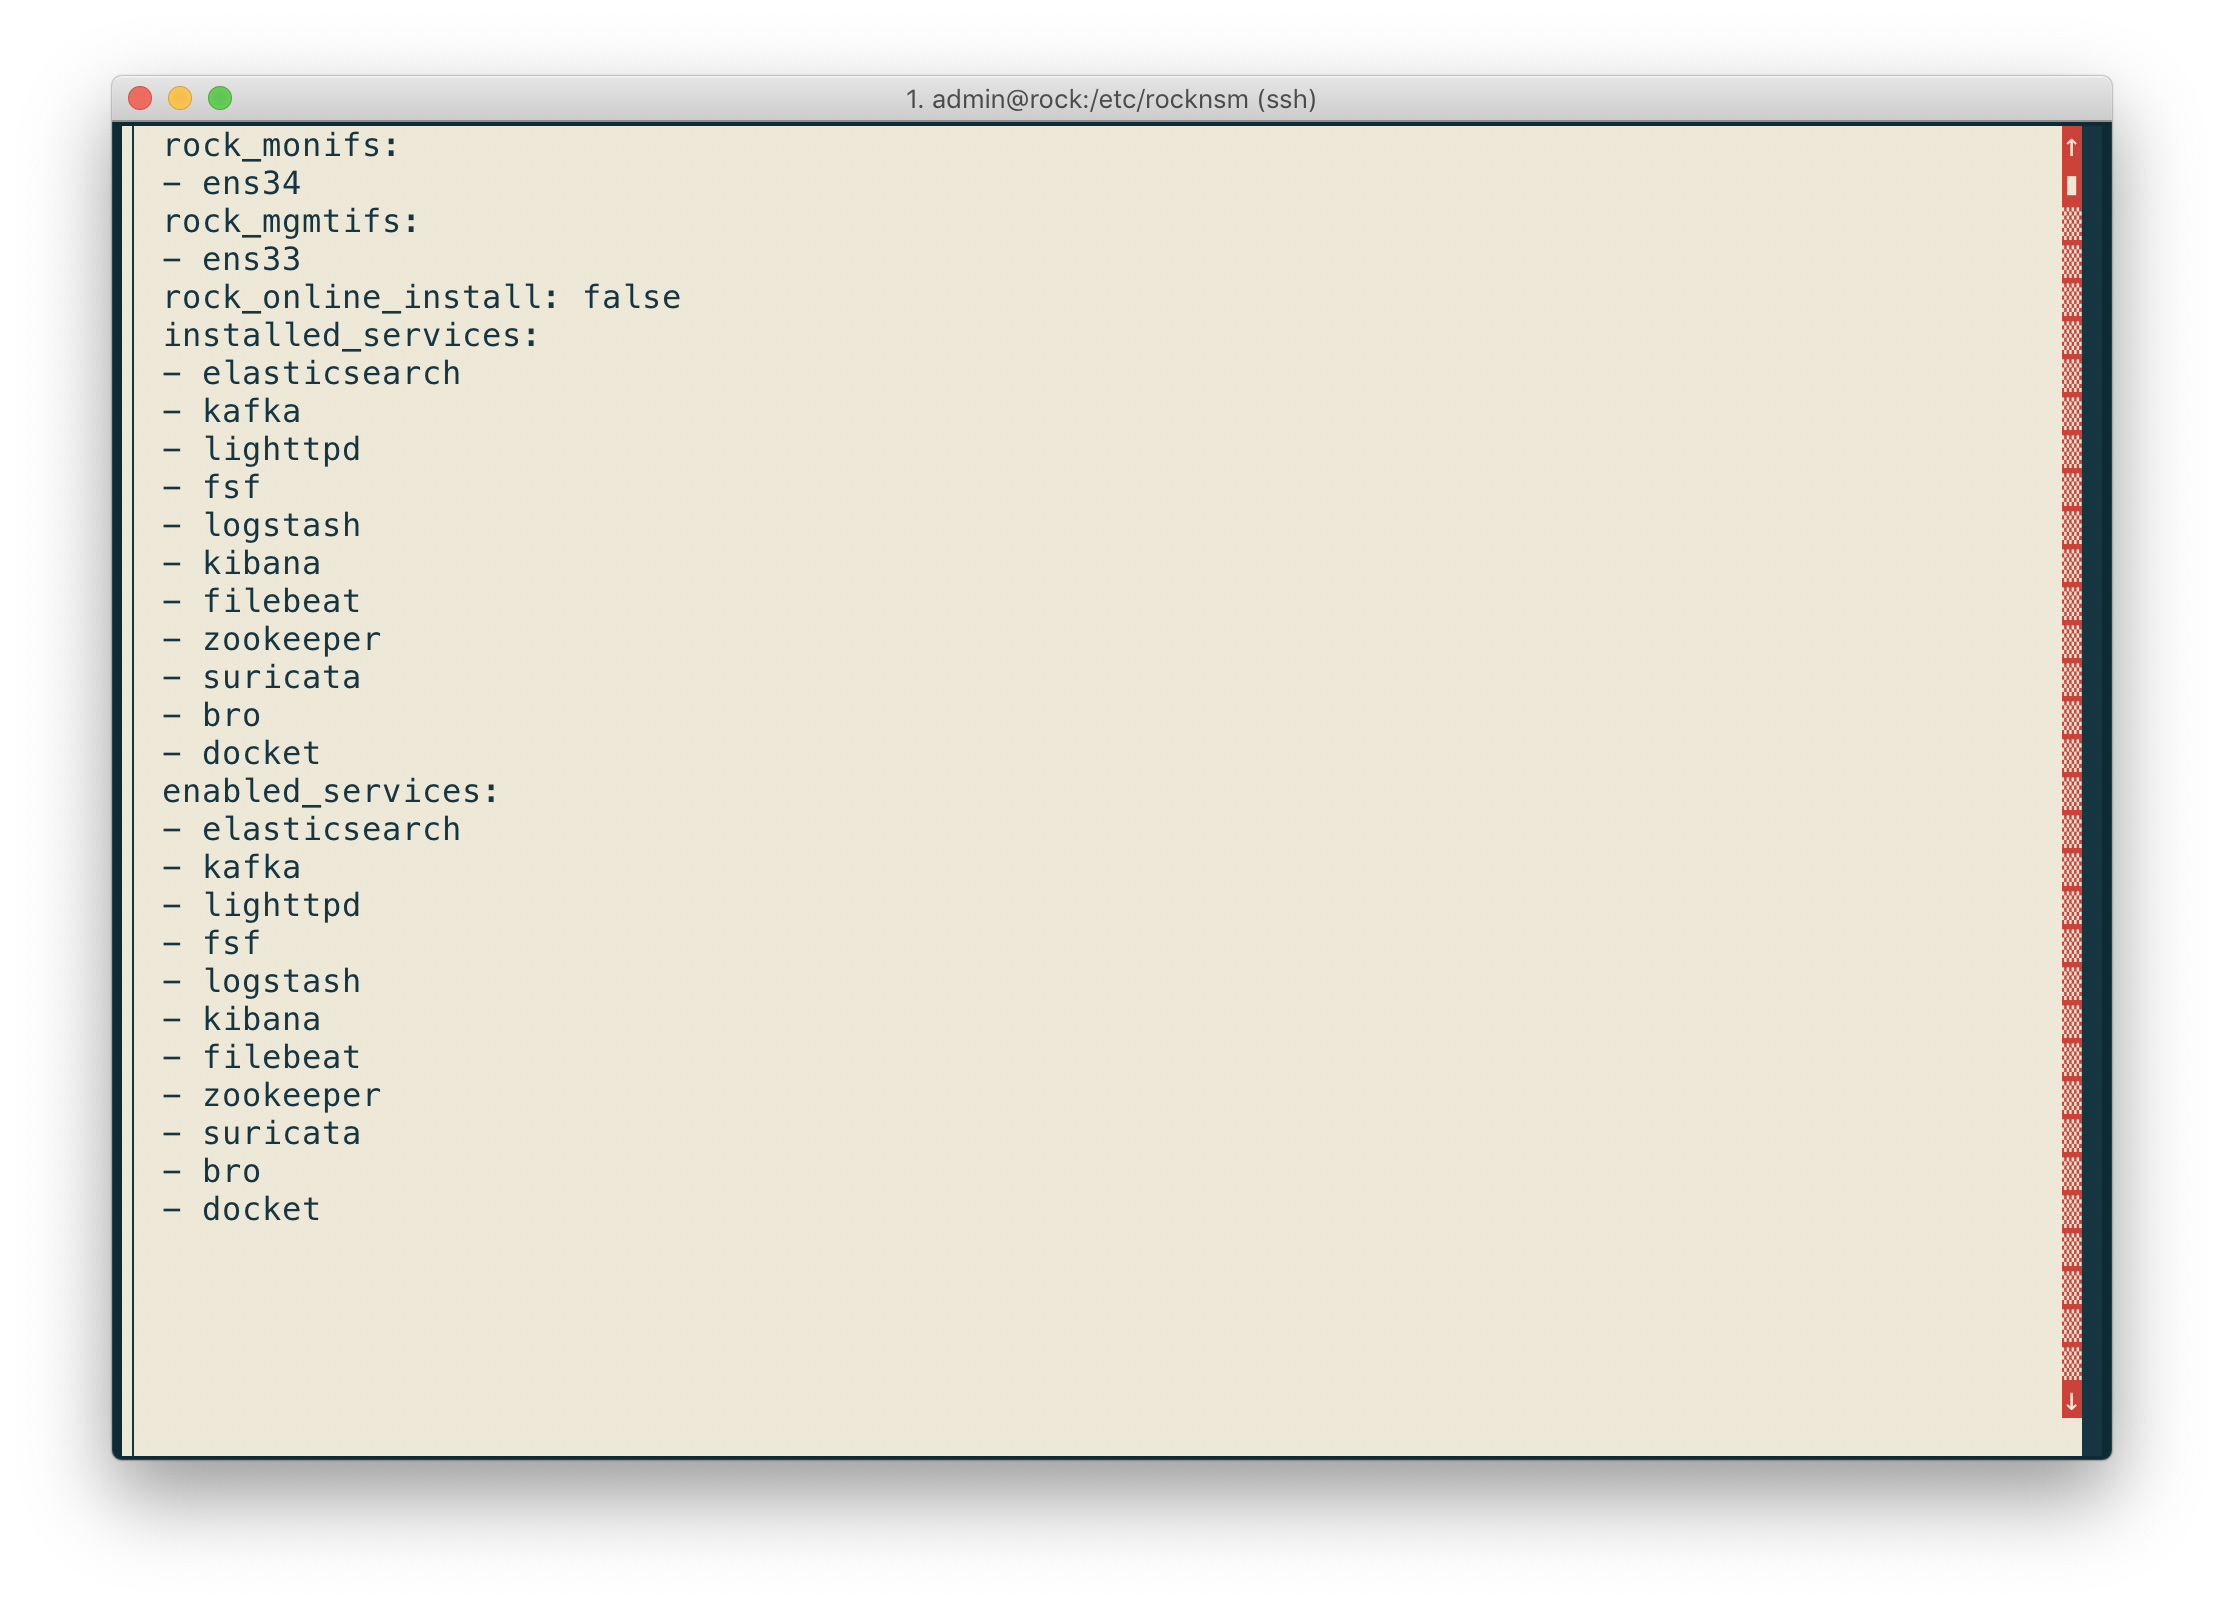
Display Config
This next selection gives the opportunity to pause and verify the configuration choices made and review if any changes need to be made.
Write Config
After reviewing the config, we can write out the changes to disk.

Run Installer
Finally, we can kick off our deployment and ROCK things thing.

Success
Once the deployment is completed with the components you chose, you'll be
congratulated with a success banner. Congratulations!

We strongly recommend giving all of the services a fresh stop/start with sudo rockctl restart.